CORE2291 Design Lab 1: Project 5 Expressive Type Design
Project 5: Expressive Type Design tasked me with creating hand-drawn type of a word of my choosing. I was then to create a product based off of my type. I utilized Adobe Photoshop, Illustrator, InDesign, and Dimension throughout the creation process. This project was great practice for the programs I have already used, but it also introduced me to the world of 3D with Adobe Dimension. I learned so much about the lighting and rendering process of 3D modeling.
Mind Map

This is a mind map, one of the first steps in the creative process. Here I explored many concepts for the word "midnight" and landed on a classic Halloween theme.
Mood Board

Here we have a mood board to establish the foundation, such as color and mood, for the type design. I drew inspiration from vintage halloween postcards and illustrations.

This mood board focuses on expressive type inspiration, mostly old title cards from film and television.
Sketches


Here are my sketches based on the mood boards.

I decided to go with my second idea, but ramp it up to add intrigue and more flow.

Time for some creepy flourishes!
Type Design Process

I moved my sketch into Adobe Illustrator and set it as a template layer to lower the opacity and make it easier to do my final vector version over it.

I used the pen tool to create an outline of my type. I later separate the ribbon flourishes to allow for more efficient coloring.


Before moving on, I look over my type for inconsistencies. For example, the leftmost foot serif on the M didn't match the rest of the foot serifs. Also, the empty line design in letters varied in weight.

Next we move onto the web support graphic. Here I use the anchor point tool to delete handles between strands of the web to allow for nice, sharp, points at the end of each curve of the webbing. I repeat this process for the rest of the webbing.


I added some color so I could determine where I wanted my shadows on the ribbon to go. I put the shadows on a layer below the ribbon flourishes so that the webbing could appear to be attached to the underside of the ribbon.
Color

I laid out my color swatches on a separate artboard and edited them with Illustrator's recolor artwork feature. Each new color palette was saved in a folder in the swatches panel with themed names.


Support Graphics

I created my support graphics utilizing the pen tool and shape builder tool.

Here is the finalized type!
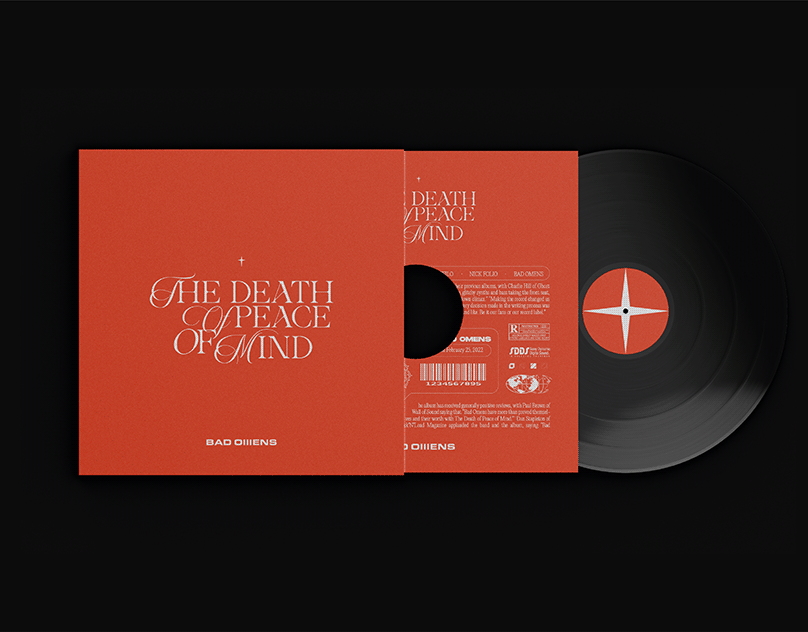
Label Process

I used Illustrators pattern making feature to turn my star assets into a background pattern for the label.


I added some type to turn my expressive type into a product! I ended up updating my original vintage Halloween idea with contemporary taste. I decided to create a cold brew coffee based on the phrase "burning the midnight oil." Cold brew coffee is quite a contemporary product whereas the phrase fits in the realm of the gothic type.
Mockup Process

Time for Adobe Dimension! I completed the first can of cold brew and repeated the process on the second. I start with the plain can model and add materials that fit the design I'm going for.

I then apply the label and make adjustments. I wanted the two can variants to have flip-flopped features. The white can has a slightly matte finish with a glossy label whereas the chromatic can has a glossy finish with a matte label.

I created a gradient background in Adobe Photoshop to suit my designs and added it as the background. I then adjusted my lighting to best showcase the cold brew cans. Here they are in the render stage! I would go on to repeat this project for the second mockup image.
Finished Product